
So, I recently setup a 20 – and 40 – meter ham antenna. My thinking was they would be a simple easy way to get on the air with a quality antenna. But I think I found another Newbie pit fall. While these antennas are cheap. they are not so easy to use and the instructions for tuning them leave far too many questions.
Questions:
- What is the optimal use for these antennas?
- Can the SWR vary so much based on mounting location, that trimming the antenna for car mounting. (Tri-magnet mount recommended) might make it unusable for other situations?
- What is the best way to set the antenna up for other uses. Example POTA.
- What frequency is best to tune it at or two. This obviously depends on what part of the band you are going to use CW/Phone.
- Is it worth tuning the antenna just for one side of the band or the other. again CW/Phone. Some bands are so small this probably doesn’t make sense. But a newbie may not realize this.
- What is the best process for tuning them.
- When in the tuning process should you trim the excess off the whip as you tune or after.
- When they mention the coil do, they mean the single strand of wire spiraled? Or the area of denser spiral of wire. I suspect when the whip is attached the excess should not extend at all into the shaft of the antenna. Not more than the silver lug.
If you have answers to any of these questions, please comment below. Or link me to a video you think would be helpful.
So, I’m not sure I have many answers for these questions. I’ve tried looking to YouTube for info on tuning them. Most of those videos only seem to cover the tuning them for use on a car in a mag mount. Have seen a few shown using 2 of them in a special mount. But nothing that made me feel like it was a real good resource. To learn the ins and out of these particular antennas.
Now owning the MFJ, Moonraker and Workman versions of these antennas I have realized they are all the same. Despite variations in the tuning instructions. The difference coming from Moonraker. They instruct you to start at one centimeter instead of 4 inches. I don’t believe the difference in instructions is related to any differences between the antennas. Probably just the old metric – standard feud. I have included below the PDF instruction manuals for the three.
SWR Meter
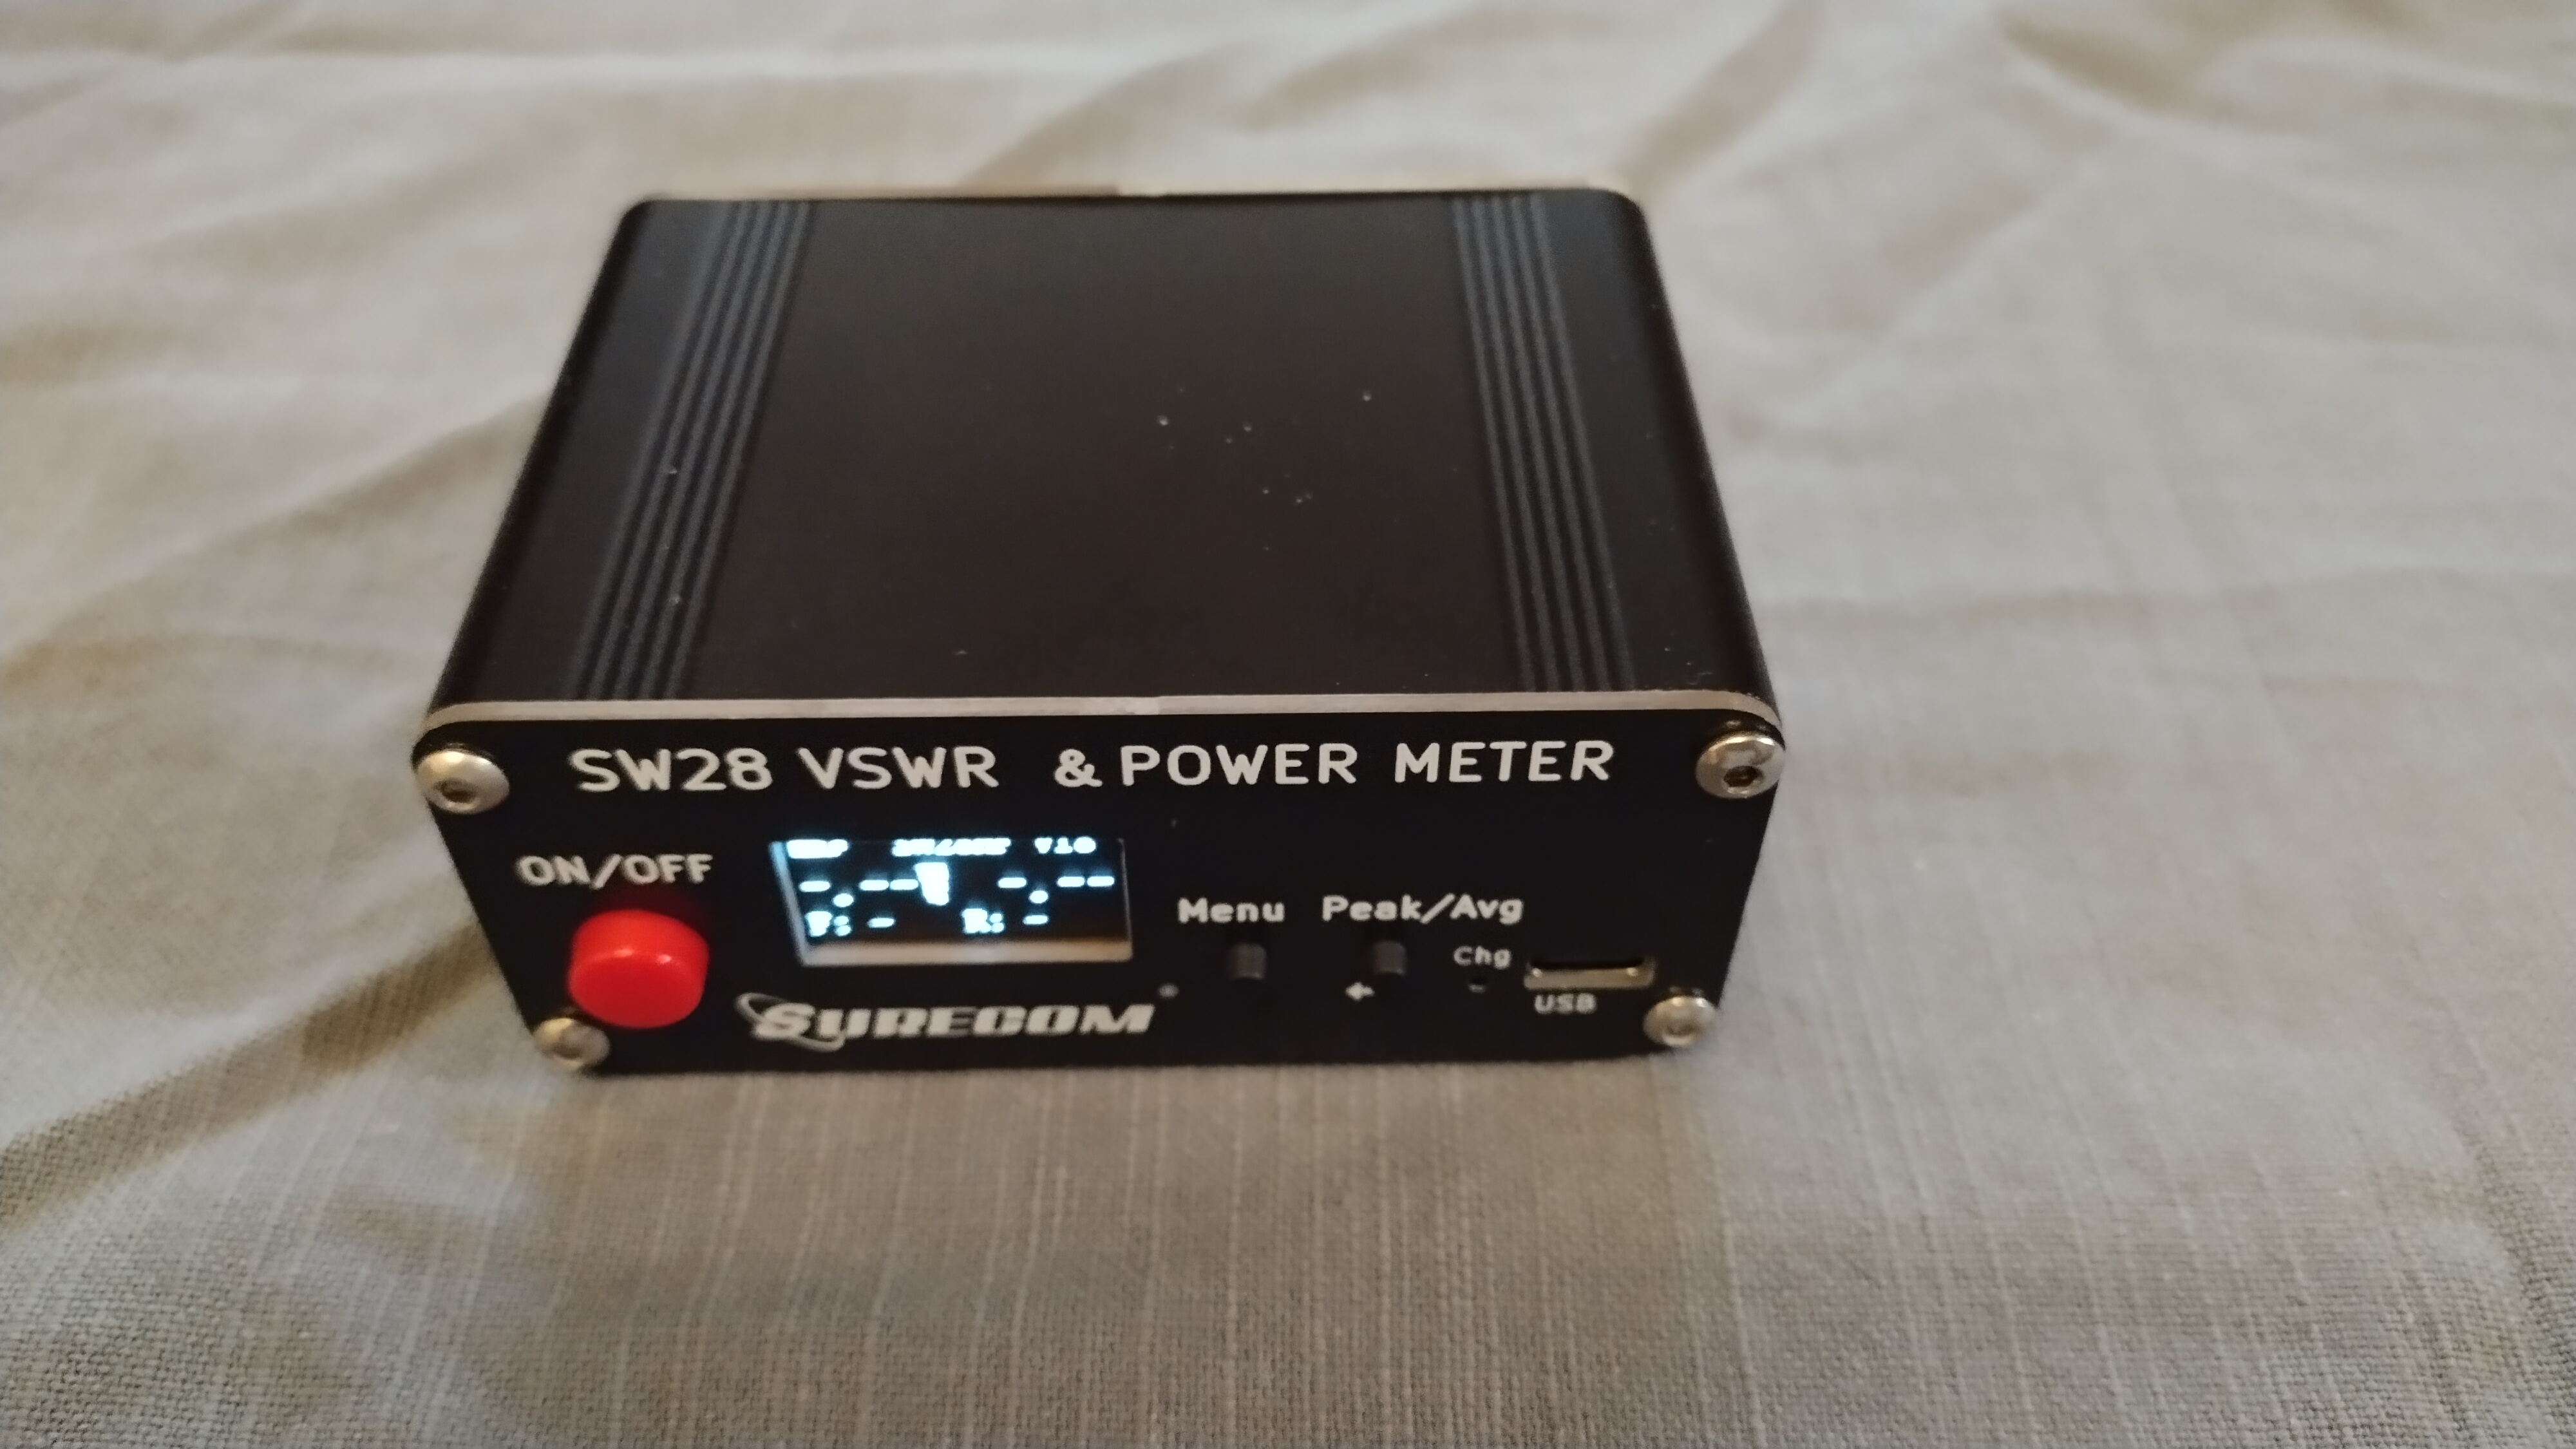

One thing I highly recommend is getting a digital SWR & Power Meter. I bought the Surecom SW28 VSWR & Power Meter. Do not rely on the meter in your rig when you tune the antenna. It’s not designed to be used that way. The Surecom SWR Meter has several features that make the process easier. Most importantly it will hold the reading it takes. Either for set duration of 1 – 30 seconds or off (which will reset on the next transmission.) It also has a few other nice settings like Normal power reading or Peak. Most importantly it has a high SWR alarm. The alarm can be adjusted to sound on any time the SWR goes above 3. but can be adjusted anywhere from 3-9 or off. the meter makes it easy to log and adjust the SWR of the antenna.
Tuning the antenna
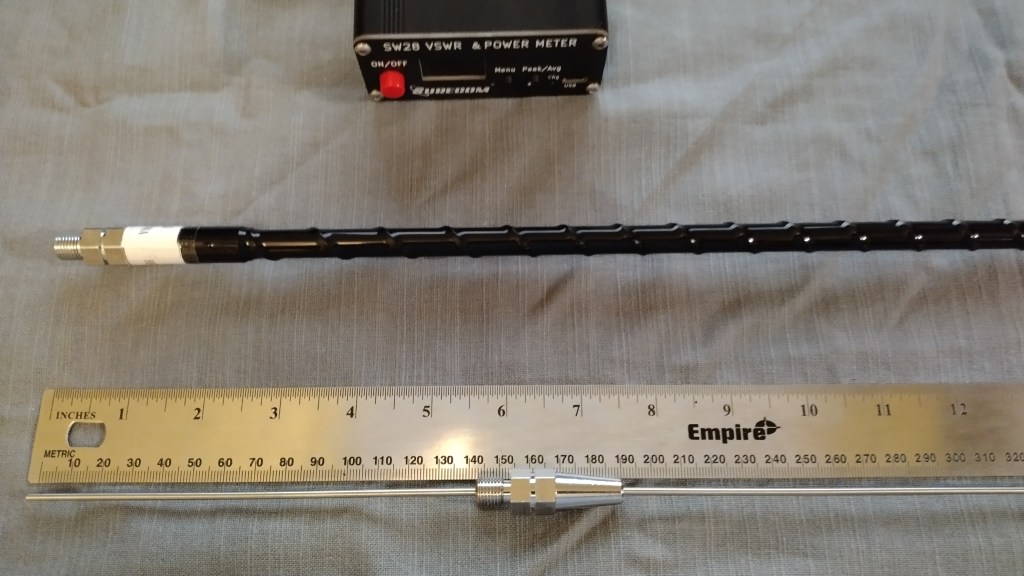
Moonraker Ampro-40. Here you can see I have over 140 millimeters extending past the bottom of the ferrule. I believe this is what is preventing me from reaching the desired SWR of 2 or less. What I want to know is. Should I cut it as I tune or tune to the best SWR than slowly trim it. To see if the SWR drops more. Or just cut it off and cross my fingers it works.
I by no means know enough to guide you here. Though i will share the method I tried. Maybe someone can spot what I’m doing wrong if anything.
So first I set the frequency of my rig to the center of the band. 20 meters in this case 14.175 MHz Then very important I set the power down to 10 watts. 10 – 25 watts is what i see recommended most often. Also turn off your auto tuner or set it to bypass
Second, I installed the antenna where it will be used from. It’s my understanding that moving them say from a car mount to a picnic table with radials. May well require a complete re-tune. So, tune it for where you will use it. Hopefully your mounting location allows easy access to the whip. You will be removing and reinstalling many times during this process. (If it’s on a vehicle have fun.)
Next take a reading. Hopefully you have a digital meter that takes a reading and holds it on the display till you transmit again. You should log this reading on paper. Or you can use excel if you want to plot it eventually. Next remove the whip from the fiberglass coil. With a metric ruler measure from the bottom of the whip to the top of the ferrule. Log the number of millimeters next to the reading. Now move the ferrule up or down based on your reading. If you have a reading that is high move it 20 – 40 millimeters. If you are close to and SWR of 2 move the ferrule in smaller intervals say 10 millimeters. It you hit the jackpot and your SWR is 2 or lower. Consider you have WON the lottery DO NOT move the Ferrule you will regret it. Now reinstall the whip and take another reading. if the SWR when up. Then move the ferrule in the opposite direction. Keep doing this till you get the lowest SWR you can. (Yes, doing this sucks)
Cutting the whip or not cutting the whip!
So, here is the hitch. At some point you may find the whip is now extending into the coil area of the whip. (this was with the 40-meter stick) This is where I got to. I was able to get the SWR down to 2.25. But not knowing what is considered the coil. Either the single strand of wire around the fiberglass rod or is it only the densely wrapped wire? For me getting the SWR down to 2.25 meant, I would be cutting off a few inches of the whip. (Yes, it was down into the dense wire area.) So not knowing what is considered part of the coil made me hesitate and not cut the whip. I kind of get the feeling I should trim it slowly as I make adjustments. But want to confirm with someone who has done this before. So, if you know from experience please comment below.
As for my 20-meter stick I kept extending the whip to the point where I passed the first allen screw. At that point I was getting close to an SWR of 2. I was at 2.78. Close enough if I used a tuner and kept the power down. But who wants to do that. So that’s where I put things on hold. Either my process was flawed, or the antenna was broken or something else. (Look for a Part 2 to this article.)
One more thing here. I have been told there is a thin wire inside the fiberglass tube. this wire is not insulated and can be damaged if it contacts the whip. Which is another reason the whip needs to be cut.
Nano VNA
Probably should have used a Nano VNA to tune the antenna. However, mine is missing. I think this would have greatly sped up the process of tuning the antenna. Also, the antenna could be tuned closer to the mount removing the length of coax from the equation. The VNA would also allow you to quickly adjust the whip length. Allowing you to see how it reacts immediately as you do it. I think this is the proper way to do the initial tune of the antenna. I would recommend one but since I can’t find mine that will have to wait. I would like to use it to tune my antenna before telling anyone they should use X VNA.
Side thoughts
One of the early impressions I had of this hobby was that I would get my license. Then get a radio and simple antenna and I would have a competent HF station. Well no. It turns out it’s not so simple on HF, as it is on UHF and VHF. It seems when it comes down to HF it’s really all about the antenna. Which nobody tells the newbie. No, I don’t mean you need to spend thousands of dollars on one. I mean you need to know what you are doing or have someone helping you. It’s simple a factor of the wavelength requiring longer antennas and corresponding ground planes. Which leads to doing some complicated tricks with coils and tuners to get things working. Having experienced hams to fall back on here will save you time and money. And sometimes the internet sucks
Last thing
There is also have a mini version the above antennas the AMPRO-40T – HF Mini Stick 40M (125cm) Mobile Antenna. They do also have these for other bands like 10, 20 and more. I’m tempted to try one of these as well. But I plan to wait till I get my 20 – and 40 -meter one’s setup correctly.
Moonraker line of Antennas Manual or tuning instructions
Workman HF Antennas tuning instructions
MFJ-1620t Tuning instructions
Here are some videos I found on tuning the antennas.
Discover more from KC2ZQO
Subscribe to get the latest posts sent to your email.
