Recently HamRS added Rig control to their desktop app. I believe it was added in v2.18 on Nov 19th 2024. The current version is 2.19.1 as of the writing of this article.
HamRS leverages a long-standing rig control program called FLrig by W1HKJ which works with most rigs new and old. FLrig creates a remote xmlrpc port that HamRS connects to. HamRS is both able to read the radio settings and set them. Meaning you can now click the Rig button on the card of each spot. Which subsequently tunes the rig to the appropriate frequency. I also believe there are many other software packages that will work in place of FLrig. They just need to have xmlrpc server port for HamRS to connect to.
This simple enhancement dramatically speeds up hunting POTA activators.
To configure HamRS for Rig control you must first install FLrig and get it setup with your radio. In my case I configured it for use with my Kenwood TS-570. I’m not going to cover the setup of FLrig here. That will be another article. But don’t be afraid to try it. The setup for many radios is very simple. Provided you have the correct cables. Most cases just a USB cable for modern rigs. Older rigs may just require a serial cable and serial port on your PC. I used a Parallax USB to Serial adapter. You need to check your radios manual to see what cables are required.
After you have FLrig working fully you can then configure HamRS to connect to FLrig via the xmlrpc port 12345.
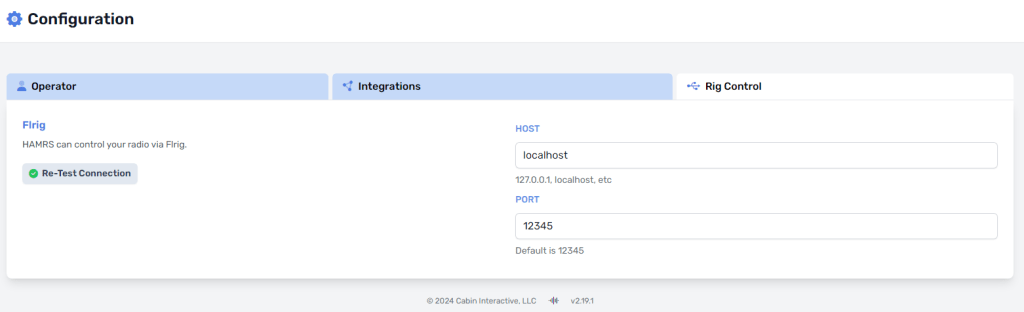
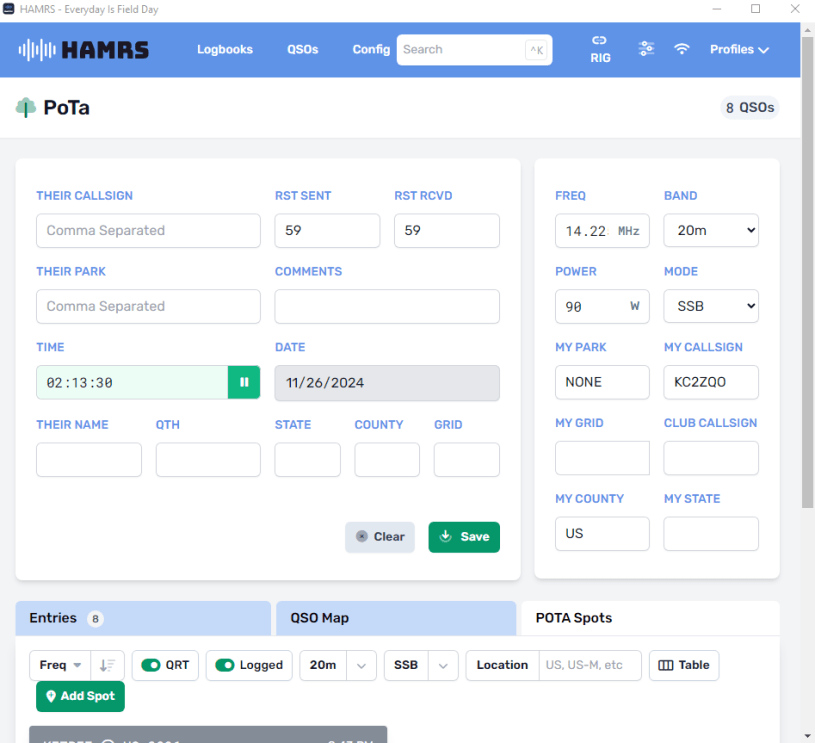
You can access the rig control configuration tab by clicking the config button. which is at the top to the left of the search box. Then click the rig control tab.
NOTE: The default settings will work fine here. Unless the PC running the rig control software is not the same as the one running HamRS
Next, we need to test the connection between HamRS and FLrig. Click the test connection button. If it is showing a green check circle you are good to go.
Note: It may already be green. Because it is working and connected.
Also check the Rig connections indicator once you are in an open logbook.

The rig connection indicator is circled in the image. It should appear like solid chain link flashing in and out. Clicking on it will cause it to disconnect from FLrig.
Finally open your spotting tab in your POTA logbook. Configure what band and mode you want to see spots for. It will then display spot cards. On the spot card you will see a button labeled rig. Pressing that will tune your radio to the frequency.

The rig icon that enables you to instantly tune your rig to the frequency. Circled in red. Pressing that will tune your radio to that frequency.
Note: The rig button does not appear when in table mode. Which I think they should add it is next to the copy button. (I will be putting in a feature request to HamRS for that)
Once you find an activator you want to make a contact with. You then press the copy button on the card. This will copy the QSL information to the top section and you can amend the data as need. usually only the signal reports need to be edited.

The copy button is used to populate the information for the contact into the logging area.
Also, once you have selected a POTA spot card. Then hit the rig button. The card will turn blue and show a sound wave icon. This is to indicate to you, which station you are working.
The addition of these simple features dramatically speeds up hunting POTA activators. It eliminates and need to manually use the tuning knob on your rig.

To the left is an image of what FLrig looks like when connected to your radio. FLrig allows you to directly control most of what your rig can do from a software window. It also supports touch screens as well. However, I find that while doing POTA I don’t need to use this screen at all. I just leave it open in the backgrounds. It is needed to maintain the connection between HamRS and your rig.
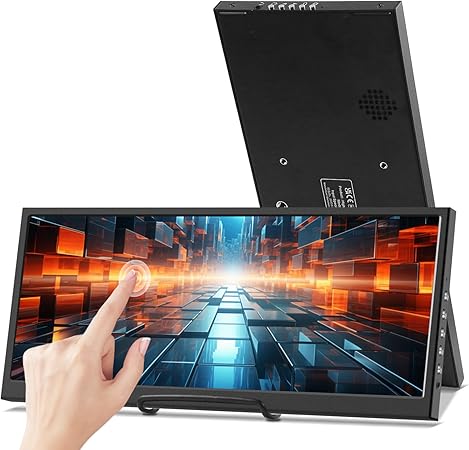
Another cool thing you can do with this screen is put is on a mini screen. As sort of a dashboard screen. allowing you to see it while using HamRS. The below images are what I call dashboard screens. (what Microsoft once called sideshow screens in the days of Vista) This is what I’m considering buying. To allow me to see the rig control without using up space on my main monitors. But that’s going to be another article.
So please subscribe!
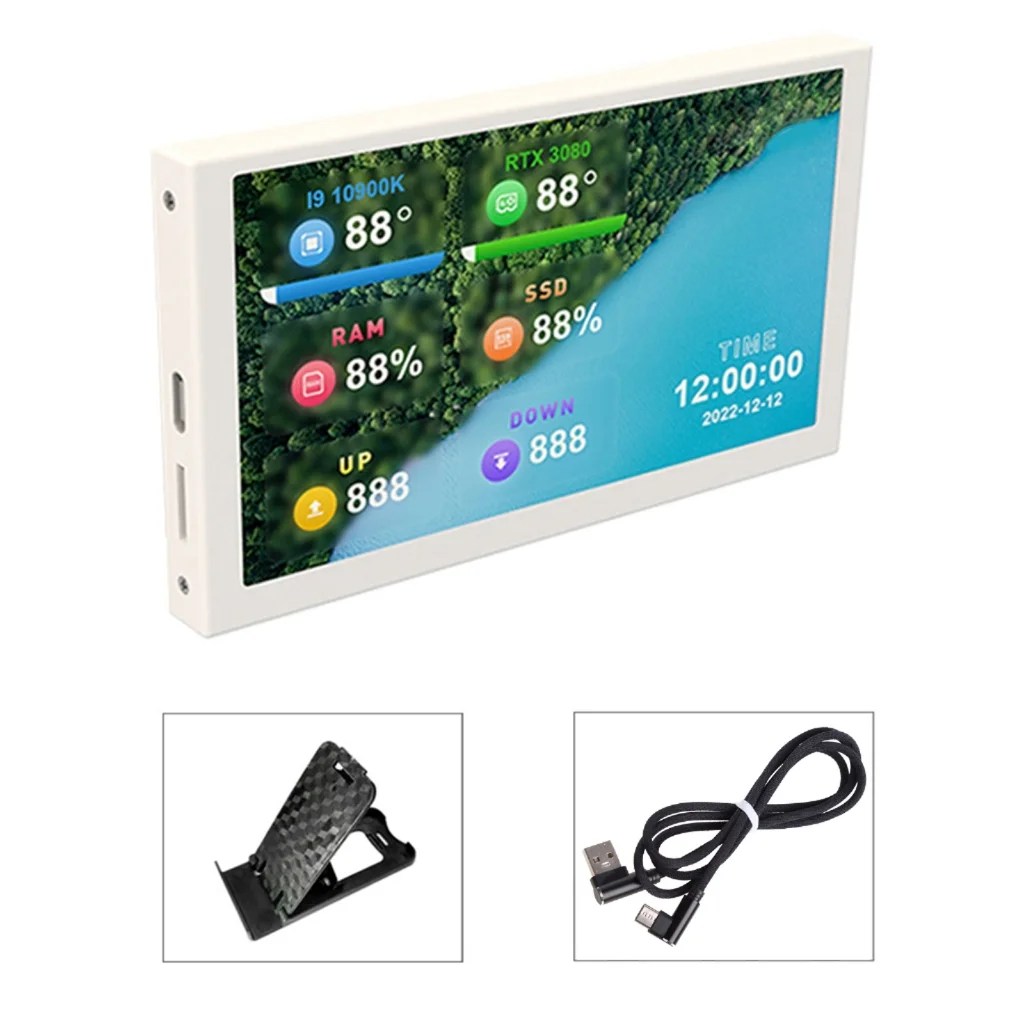
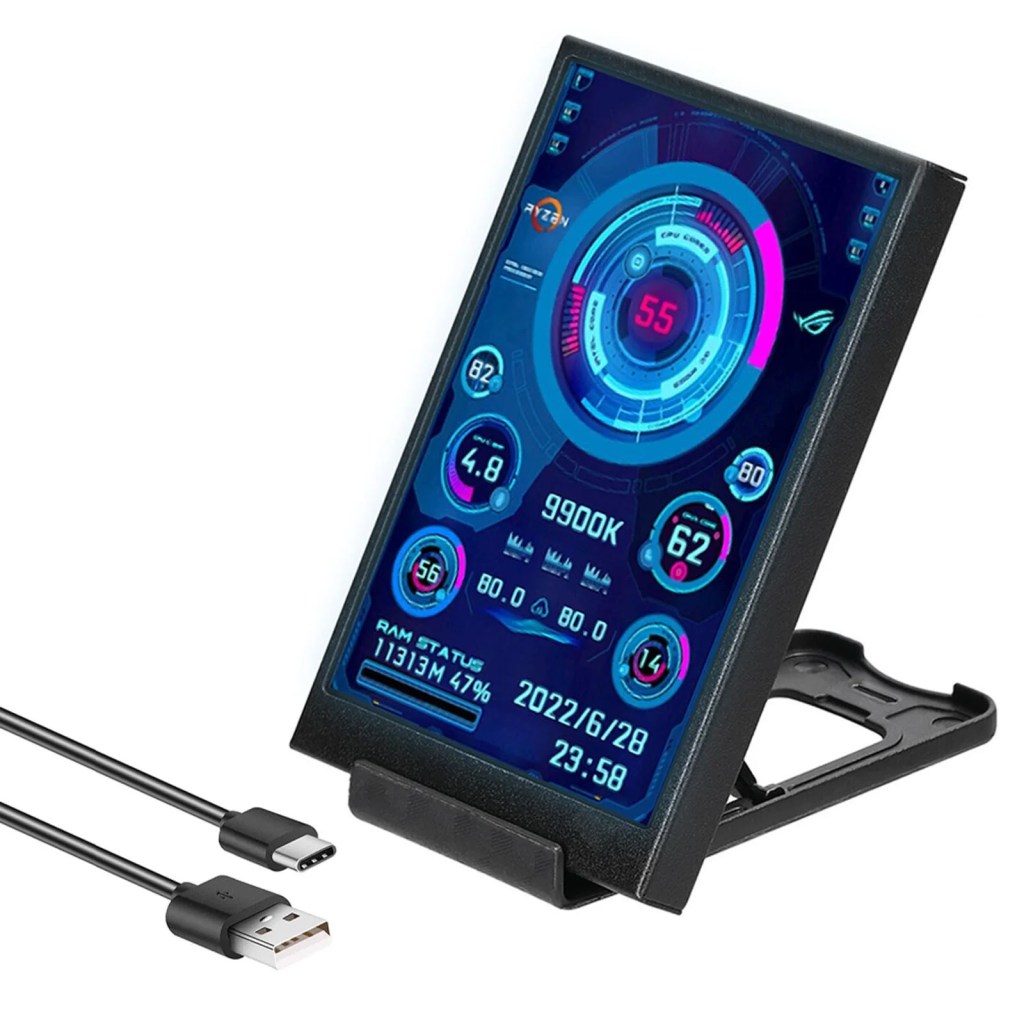
These two below only seem to allow specific metric like temperature of CPU, free space of the HD. They don’t seem to be able to be used as an additional screen. However it may be possible to get them to display live QSO counts or contesting metric. but i have to due further research into how to customize the data displayed.
TINYSOME 5 Inch USB-C Secondary Screen Monitor <-Affiliate link
This display only shows PC metrics.
3.5Inch Secondary Screen <- Affiliate Link
This display only shows PC metrics.
Important Information
PS: HamRS also has pretty good docs on how to setup rig control. With FLrig on the HamRS doc’s site. Link below
Configuration | HAMRS Documentation
Discover more from KC2ZQO
Subscribe to get the latest posts sent to your email.
